Showing posts with label tutorial. Show all posts

Friday, November 23, 2012

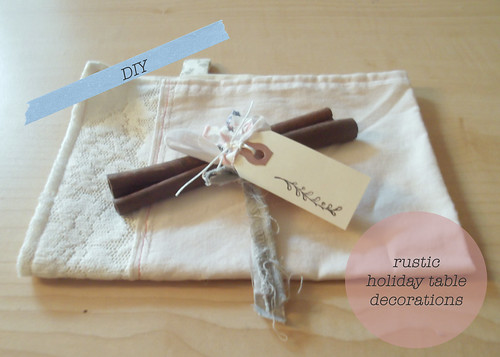
DIY // Rustic Cinnamon Stick Holiday Table Decorations


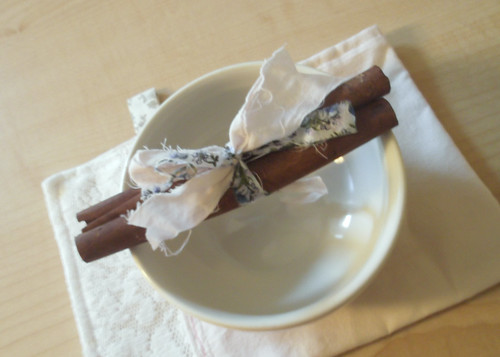
Here’s a quick idea I had for holiday table decorations that don’t fall into the trap of traditional holiday colors.  There’s a spool of scrap fabric ribbon I’ve been adding to, and I thought some of it would look nice tied around of a bag of cinnamon sticks I found from last Fall.  I’m a sucker for any kind of pastel fabric paired with natural materials. 

For this project you’ll need some cinnamon sticks, various ribbon, washi tape and anything else you think would be fun to work with.  To make the fabric ribbon, collect some scraps and cut them into strips.  You can mix and match the sizes.  Tie them together and wind them onto an empty spool. 
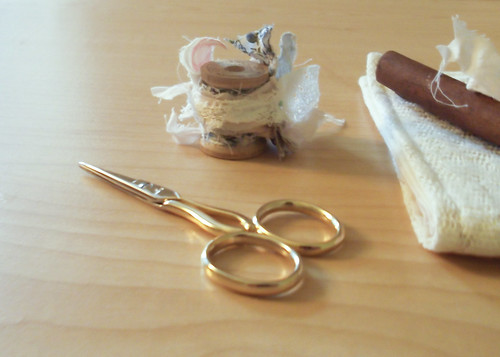

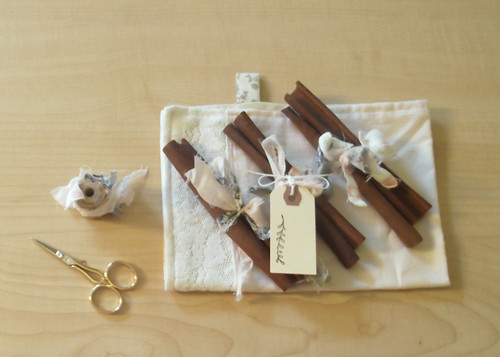
Cut 18” of the ribbon and tie it around the cinnamon sticks.  I used two sticks, but feel free to add more – just be sure to cut a few extra inches of ribbon.  These are nice to sit on napkins for place settings or to accent a centerpiece.  To make place cards, you can tie on a shipping tag as well.

After making a few with the fabric ribbon I decided to break out the washi tape (because I love to add it to everything) and tried making one that way.  It looked a little plain so I added a thin strip of cream polyester ribbon.  The tape gave it a nice modern look.
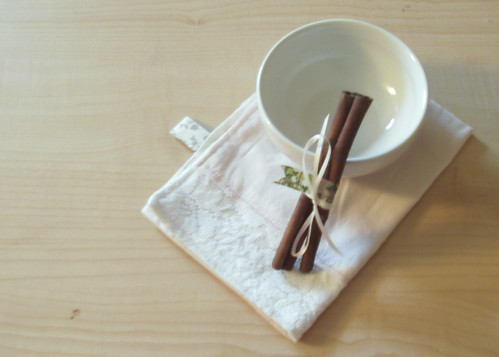

Pine cones would be another way you could try to make these.  The idea is to find materials to work with that are in season, but to have fun with the colors you accent them with.  Experiment with what you find and show me what you make!

Sunday, September 23, 2012

DIY // Invisible Bathroom Drawer Organizer


Happy Sunday everyone; I hope you all enjoyed your weekend.  Here’s a quick and easy DIY project to kick off the new week.  I missed our last recycling pick up and had an overflow of plastics and glass in our little milk crate that we keep in the kitchen.  This inspired me to take out a few items and reuse them around the house.  One of them was a plastic cookie container from the bakery that got transformed into this neat and simple drawer organizer for my bathroom.


Here’s what you’ll need:
- 1 plastic container with at divided sections on the bottom
- a pair of scissors

Step 1.  Rinse container.  If there are any stickers or labels on it, run them under some warm water before gently peeling them off.

Step 2.  Cut along the plastic hinge that connects the top and bottom of the container.  Be sure to sure to cut down any sharp edges.

Step 3.  Place container into a drawer and get organizing.

Wasn’t that easy?

Wednesday, August 29, 2012

DIY // Chic & Discreet Prescription Containers

It’s called the medicine cabinet, but experts say that’s the worse place to store your pills.  The heat and moisture generated in the bathroom can break down medicine and make it less effective.  So, where do you keep all those prescription bottles where they will be out of sight, but still convenient to access?


Tea tins provide a perfect cool, dry, and light proof environment for storing your meds.  After you’re done with your favorite bag or loose leaf tea, keep the container!  I prefer ones that come in a square shape because I can fit at least four pill bottles in them.  Round containers give you space for about three – and if they’re tall containers, you can always stack them.

All you need for this project is a nice tin and your favorite roll of washi or deco tape.  Most tea tins already have fancy package design, but I still like to deck mine out a little.  Find a cute tape that compliments the tin and use it to line the top and bottom edges.  If the container has a label, border your tape around it.  Put a little tape around the rim of the lid, or across the top, for a unified appearance. 


Once your new container is decorated you can transfer your pill bottles into it. Now you can store your meds on your bedside table, kitchen cabinet, or shelf without having it looking like a mini pharmacy.  This also keeps nosy house guests and visitors from checking out your prescriptions.

For meds that you need to take on the go, you can create a mini version of these containers by cleaning out lip gloss or other small cosmetic tins.  Since these are so small I just put a little washi tape around the lid.  Transfer the pills you need to take with you inside and pop your new pill case in your bag or purse.


Don’t have the kind of containers you want at home?  This is a great project for thrift store or flea market finds.  Hunt down some small vintage tins and aluminum containers.  Japanese candy tins also work great for this.  As usual, you want to keep all prescriptions out of reach of children and pets.

Enjoy!