Showing posts with label project. Show all posts

Thursday, January 24, 2013

DIY // Elementary Kid Inspired Valentines


Today it finally snowed!  I was beginning to worry that we wouldn’t get any snow here at all this winter, but I woke up this morning to a cold room filled with soft light from the window.  My inner-kid immediately recognized the signs of snow and I pulled back the curtain for a quick glance at the white covered back yard before going back to sleep.

It’s funny how that child-like wonder of snow has stuck with me, even as an adult.  Winter was always an exciting time of year filled with holiday parties in class and hopes of school cancellations.  The feeling stayed with me throughout the day and got me thinking about another favorite thing about winter that’s coming up: Valentine’s Day.


Do you remember the little valentines you have to fold in half that come in the cardboard boxes?  I loved those things when I was little.  They always come in designs of cute cartoons.  In school we would make little ‘mail boxes’ from paper bags to tape to our desks.  Did anyone else do that?  On Valentine’s Day we would have a small party where everyone would deliver cards into the mail boxes.  At the end of the day they would be filled with lots of little cardboard valentines.


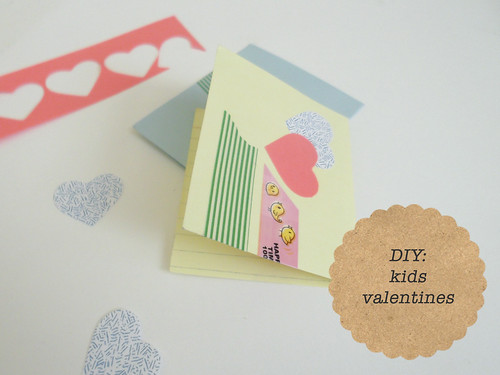
 Feeling nostalgic, I decided to make some of my own.  All you need are index cards and whatever supplies you would like for decorating.  Fold the index cards in half, then have fun decorating them inside and out.  This is a great project to do with kids, or you can make them for your friends and family to smile back on those childhood days.

Recommended Supplies:

3” x 5” assorted color index cards
deco and washi tapes
die cut hearts
glue stick
bone folder (for scoring the folded card)
rubber stamps
scrap papers and magazines
kid safe scissors
assorted stickers

Tuesday, December 18, 2012

DIY // Eraser Stamped Gift Tags

I had to do a double take when I looked at today's date.  Not only did December sneak up on me, it's flying by.  Yesterday my family and I got our tree.  The cats are having a blast with it, as always.  It's hard to believe the holiday is right around the corner and I haven't wrapped a single gift.


I did find time to make some gift tags over the weekend.  The idea came from Martha Stewart's Encyclopedia of Crafts, which I checked out from the library.  It's a wonderful and inspriing book.  Projects and tutoriols are so accessible on the internet now that I don't look at craft books much, but it was very refreshing to flip through page after page of beautiful craft work.

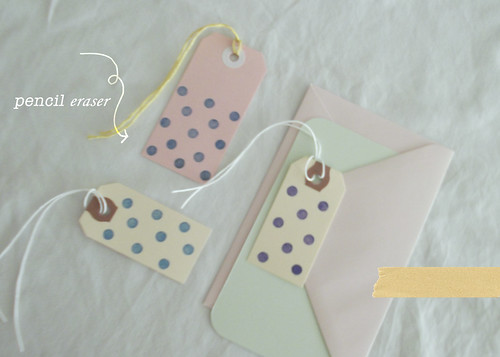
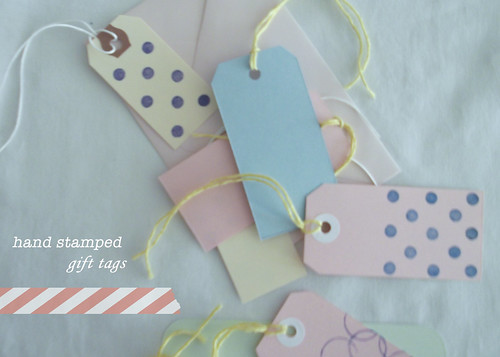
Anyway, there was stamping project using the erasers on the ends of No. 2. pencils to create little flower patterns.  I went simpler and took the polka dot route, decorating a few shipping tags.  After that I made a few of my own tags from card stock.  A brand new pencil eraser will give you a perfectly round stamped circle, but for some fun I did a bit of stamping with worn erases, too.  The end of a glue stick provided a nice circle stamp as well, and I enjoyed making patterns with it.


Hopefully I can get some presents wrapped this week and put these tags to use.

Happy Holidays everyone!

Sunday, September 23, 2012

DIY // Invisible Bathroom Drawer Organizer


Happy Sunday everyone; I hope you all enjoyed your weekend.  Here’s a quick and easy DIY project to kick off the new week.  I missed our last recycling pick up and had an overflow of plastics and glass in our little milk crate that we keep in the kitchen.  This inspired me to take out a few items and reuse them around the house.  One of them was a plastic cookie container from the bakery that got transformed into this neat and simple drawer organizer for my bathroom.


Here’s what you’ll need:
- 1 plastic container with at divided sections on the bottom
- a pair of scissors

Step 1.  Rinse container.  If there are any stickers or labels on it, run them under some warm water before gently peeling them off.

Step 2.  Cut along the plastic hinge that connects the top and bottom of the container.  Be sure to sure to cut down any sharp edges.

Step 3.  Place container into a drawer and get organizing.

Wasn’t that easy?

Tuesday, August 28, 2012

DIY // Color & Texture Swatches

I’ve never been the type to keep a sketchbook.  The writer in me always takes over and I end up jotting down lots of tone words and long descriptions of my ideas.  Visually, I rely on color and texture instead of sketches.  Both have always evoked strong emotion in me, so when I’m planning out ideas I try to match up different textures with pallets that speak to my written descriptions.

As a result, I end up keeping every scrap of paper or fabric, small or large, which inspires me or holds my attention.  You can imagine the mess I create when I pull all of them out and spread them around the floor, sorting and selecting.  Besides being a hassle to pick up, it also becomes difficult to store so much stuff when I have to keep taking it out again. 

To make this whole process easier I recently made my own color and texture swatches.  They’re super simple to make and great for creating color and mood boards for projects.  You can also scan them to use for design and digital scrap-booking.  All you need is a stapler, some sturdy backing paper, scissors or paper cutter, and a selection of your favorites scraps.
Here’s what I did:
                 
Step One:  Gather materials.  You can see that I used a wide variety, including tissue paper, different fabrics, ribbon, vellum, vintage book pages, handmade paper, and various ephemera.  Don’t be afraid of bold patterns or textures.  Candy wrappers, various textiles, and found items are all fair game.  Use whatever jumps out at you and gets your wheels turning.  Have fun with it.

Step Two:   Prepare the backing paper.  It’s best to keep them on a light solid color that will not compete with your swatches.  I used perfume sample cards and also cut up a few blank index cards.  You can also use card stock.  Whatever you chose, make sure it’s sturdier than the materials you will be attaching.  The next thing you’ll want to do is cut them down to size.  Most of mine are about 2” x 3.”  They don’t have to be systematic, as long as they’re easily handheld and sortable.

Step Three:  Cut out your materials.  This is the fun part.  You don’t want them to be much bigger than 1” x 2 ½” or they will start to overpower the backing paper and contend with your other swatches.  If the color or pattern is not the same all over, cut out the area that you like best, or cut out several areas for a mini set.  For sheer and transparent materials I sometimes cut two pieces or longer strips, then fold or overlap them to show the change in opacity.

Step Four:  Assemble your cards.  Center your swatches on your backing paper and staple them at the top.  I used staples instead of glue because I wanted to be able to lift the swatches and drape them over other materials to see how they interact together.
All that’s left to do is to find a convenient container to store them in.  I’m still looking for something small and cute and might go thrift store hunting for some vintage tea tins.  Now you have your very own swatch set to help visualize all your creative thoughts.

Enjoy!